Changing the tires on your ATV can seem like a daunting task, but it doesn’t have to be. With the right tools, some basic knowledge, and a bit of patience, you can easily replace your ATV tires yourself. This guide will walk you through the process step-by-step, from removing the old tires to installing the new ones. We’ll also discuss the different types of ATV tires and how to choose the right ones for your vehicle. Ready to get started? Let’s go!
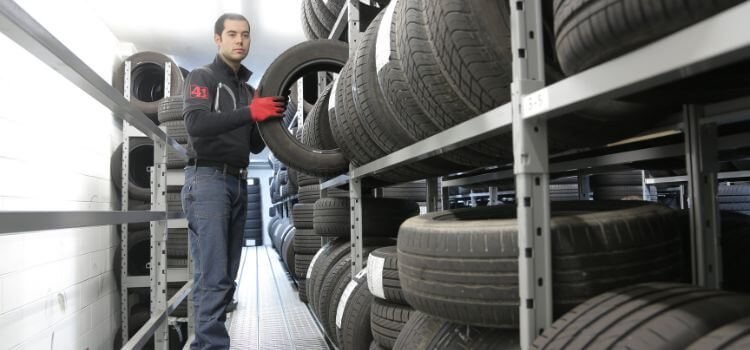
Research the type of tire that is best for your ATV
Before you start replacing your ATV tires, you should first consider the type that you need. ATV tires come in different types, each designed to meet the needs of different types of ATV owners. Mud tires offer the most grip in sloppy terrain, making them popular among off-roaders and racers. Sand tires are designed to offer maximum traction in sand and other loose surfaces. All terrain tires are a good choice for general off-road use and offer a good balance of traction and durability. Street tires are great for street-legal ATVs and provide better handling and stopping power on paved surfaces. Identify the terrain you plan to ride most often and then choose the appropriate tire type for your vehicle.
Gather the necessary tools and supplies for changing the tires
Make sure you have a jack, socket wrench set, tire iron, and lug nuts before beginning the installation process. You may also need a tire and wheel alignment gauge to measure the wheel size and tire diameter. Additionally, have a digital tire pressure gauge on hand to check the tire pressure after the installation. If you plan to use a power tool, such as an air wrench, make sure you use safety goggles and noise-reducing ear protection. These tools will come in handy when loosening lug nuts and bolts.
Also, have a few rags to clean up any grease or dirt that may get on the tires during the installation. Finally, make sure to have a tire inflator and a few cans of air pressure spray on hand to make sure that the pressure in the tires is correct once they are mounted on the ATV. All of the tools and supplies listed here will help to make the wheel and tire installation process easier and more efficient.
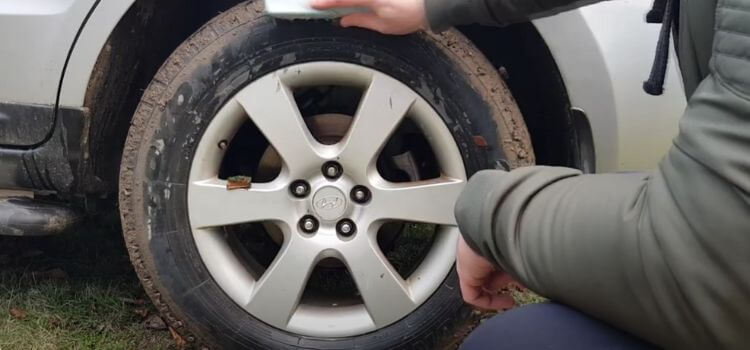
Remove the old tires and replace them with the new ones

To begin, make sure that the vehicle is parked in the correct position, and that the tires are properly inflated. Use a tire iron and a socket wrench to remove the lug nuts that attach the wheel to the ATV. Once the lug nuts are off, lift the wheel off the ground and carefully pull it away from the ATV. Place the wheel to the side and move on to the next tire. Repeat the process for the remaining tires.
Once the tires are off, inspect the rim and look for any damage or wear. If the rim is in good condition, it will be ready for the new tires. Once the rim is ready, line up the tires with the rim and push them onto the rim. Be sure to check the alignment of the tire as you push it onto the rim.
Check the tire pressure and adjust if necessary
to ensure your safety when driving your ATV. First, you will need to remove the wheel from the ATV and check for any damage to the rim. If the rim is cracked or broken, you will need to replace it before you can install the tires. Once the rim is ready, line up the tires with the rim and push them on. Make sure to check the alignment of the tire as you push it onto the rim. Once the tires are in place, use a tire iron and a digital tire pressure gauge to check the pressure of the tires.
If the pressure is too low, use a tire inflator and cans of air pressure spray to add air until the pressure reaches the manufacturer’s recommended level. Place the wheel back onto the ATV and tighten the lug nuts with the socket wrench. Again, use the tire iron and digital tire pressure gauge to check the tire pressure. Make sure to add air or let some air out until the pressure of the tire is correct. Once the pressure is correct, you can start enjoying your ATV with the new tires.
Reattach the wheel and torque the lug nuts to the manufacturer’s specifications
to ensure the safety of your ATV. Before you attach the wheel, make sure to check the alignment of the tire as you push it onto the rim. After you have the wheel in place, use a tire iron and a digital tire pressure gauge to check the pressure of the tires. If they are too low, use a tire inflator and cans of air pressure spray to add air in the tires until the pressure reaches the manufacturer’s recommended level. Once the tire pressure is correct, use a socket wrench to re-attach the wheel and then begin to torque the lug nuts to the manufacturer’s specifications. Again, use the tire iron and digital tire pressure gauge to check the tire pressure. Make sure to add air or let some air out until the pressure of the tire is correct. Once the pressure is correct, your ATV is safe to ride. Enjoy your ATV with your new tires and always make sure the lug nuts are tightened to the manufacturer’s specifications.
Test the ATV for proper operation

before you take off on your ride. Start by checking the alignment of the tire as you push it onto the rim and use a tire iron and a digital tire pressure gauge to check the pressure of the tires. If they are too low, use a tire inflator and cans of air pressure spray to add air in the tires until the pressure reaches the manufacturer’s recommended level. Once the tire pressure is correct, use a socket wrench to re-attach the wheel and then begin to torque the lug nuts to the manufacturer’s specifications.
After you have the wheel in place, visually inspect the ATV’s frame, suspension system, brakes, and drivetrain. Make sure that all of these components are secured properly and that no worn or broken parts need replacing or adjusting. Next, check the spark plug and clean the air filter. Make sure to look for any cracking and bulging, as this can be a sign of an uneven tire pressure. Finally, start the ATV and let it run for a few minutes.
Check for any strange noises that may indicate a problem and make sure the ATV is running smoothly and efficiently. Once everything is in order, your ATV is ready to take you on your next adventure.
Conclusion
In conclusion, changing ATV tires is a relatively straightforward process as long as you have the right tools and take your time. It’s important to remember to be careful and use common sense when working with hazardous materials such as gasoline and oil. Make sure to follow the manufacturer’s instructions when removing and installing the tires. This will ensure the best results and prevent any damage to your ATV.
Frequently Asked Questions
You will need a tire iron, a jack, and a tire gauge. You may also need a wheel chock, depending on the type of ATV you have.
Start by loosening the lug nuts with the tire iron. Then, jack up the ATV and remove the lug nuts and the tire.
Place the new tire on the wheel and put the lug nuts back on.
Use a tire gauge to check the tire pressure and make sure that it is at the correct level. Use an air compressor or a tire inflator to inflate the tire.
Yes, you should balance the tire. This will help the ATV to run more smoothly and reduce vibrations.
You should check the tire pressure every time you ride your ATV. If the pressure is too low, it can cause the tire to wear down faster and reduce your ATV’s performance.
If you get a flat tire, you should replace it right away. Make sure to carry a spare tire and the tools you need to change it.
Make sure to wear protective clothing when changing ATV tires. Also, make sure that the area is clear of debris and that the jack is stable before you jack up the ATV.